Onboarding Walkthrough
Step-by-step guide through the onboarding process
When you first sign in, you'll be guided through a series of steps to configure your store. This page walks through each step.
Many fields may be prefilled by your organisation. Prefilled fields show a Prefilled indicator, and some may be locked (indicated by a lock icon) to ensure consistency across stores.
Welcome Screen
The first screen welcomes you to Light Bookings and provides an overview of what you'll set up. Click Get Started to begin.

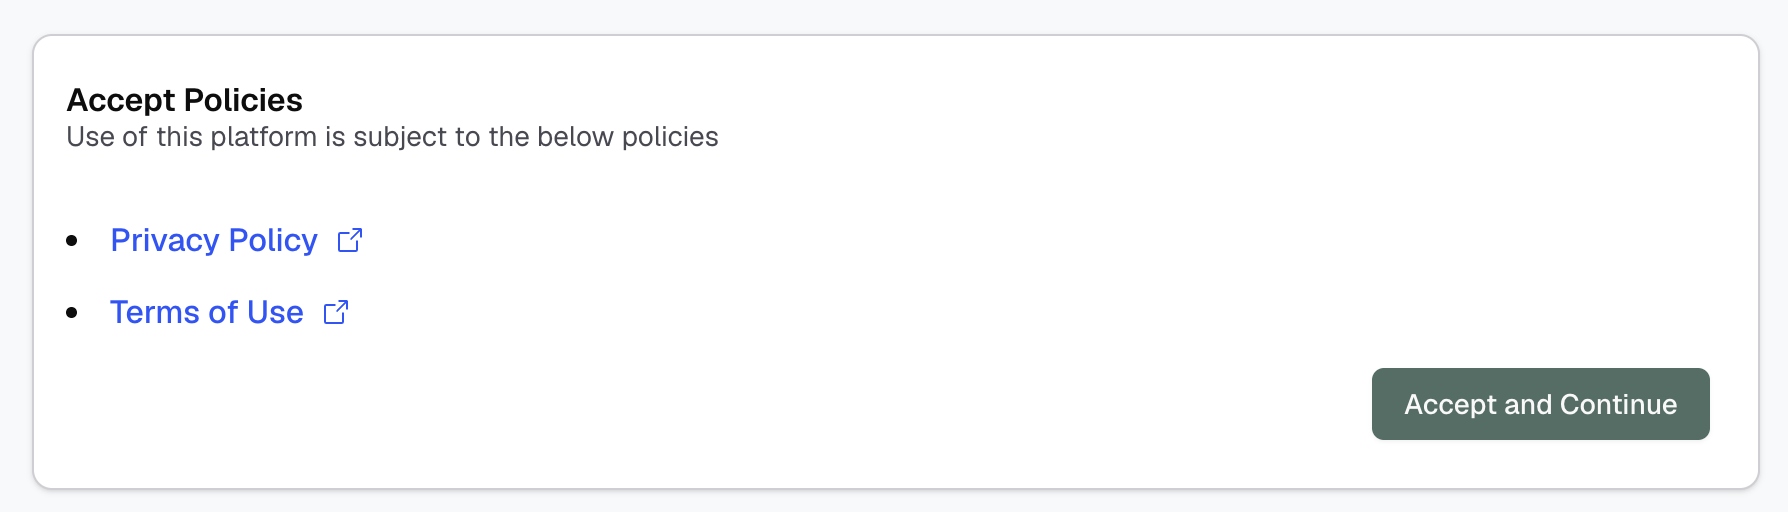
Step 1: Accept Policies
Review and accept the platform's terms of service and privacy policy. Links open in a new tab for your reference.
Click Accept and Continue to proceed.
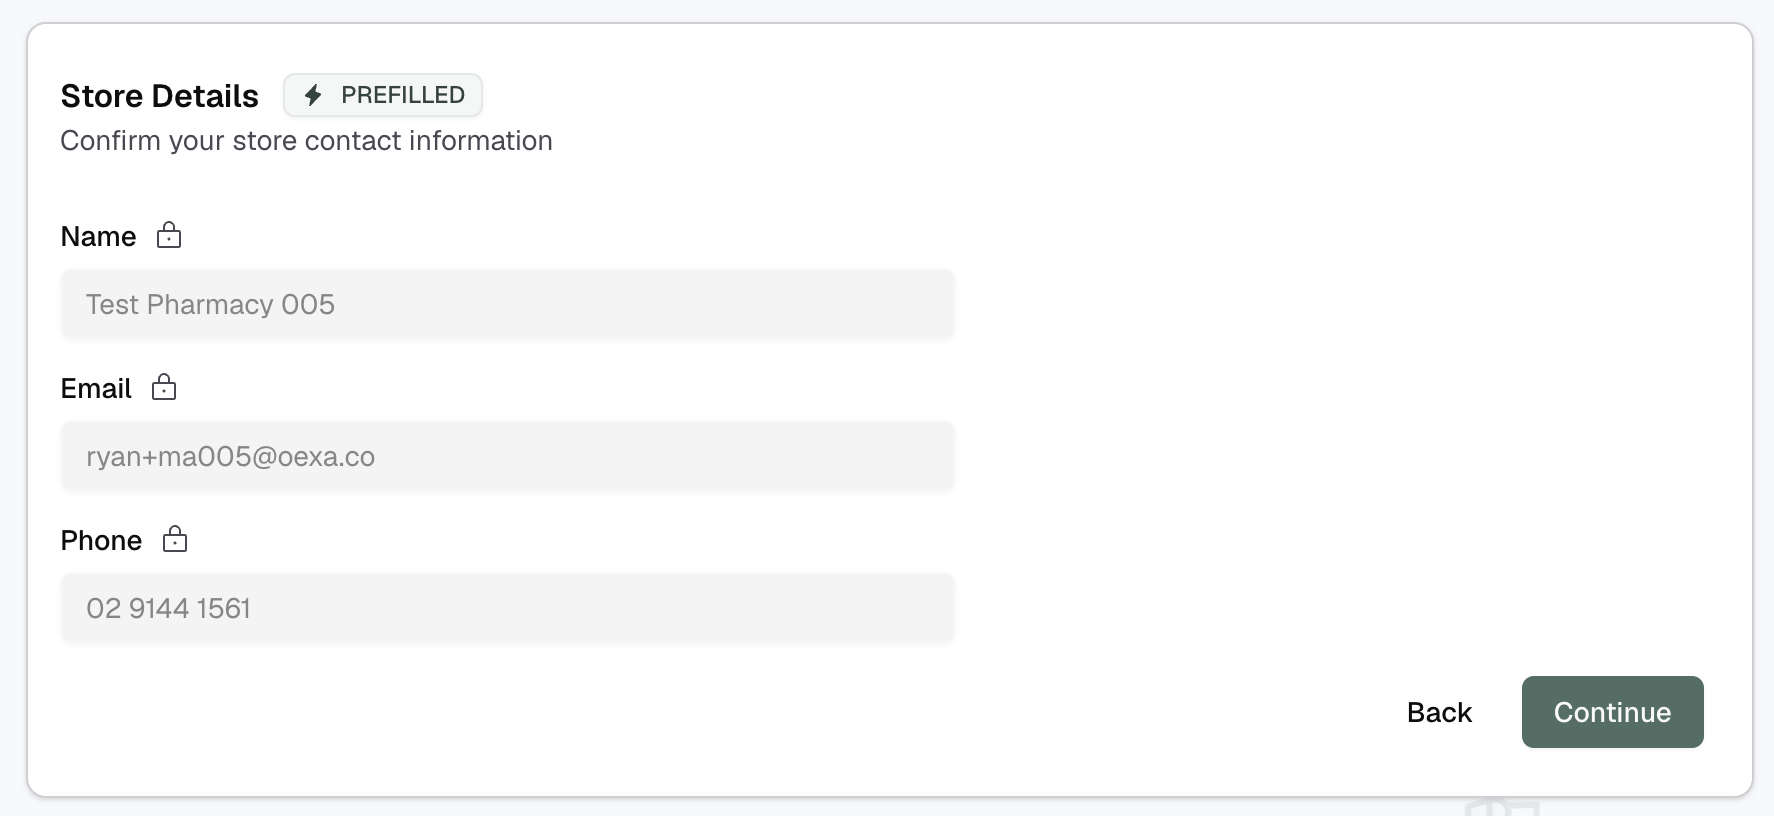
Step 2: Store Details
Enter your store's basic contact information:
- Name - Your store's display name
- Email - Contact email for your store
- Phone - Contact phone number
These details may be prefilled and/or locked by your organisation.
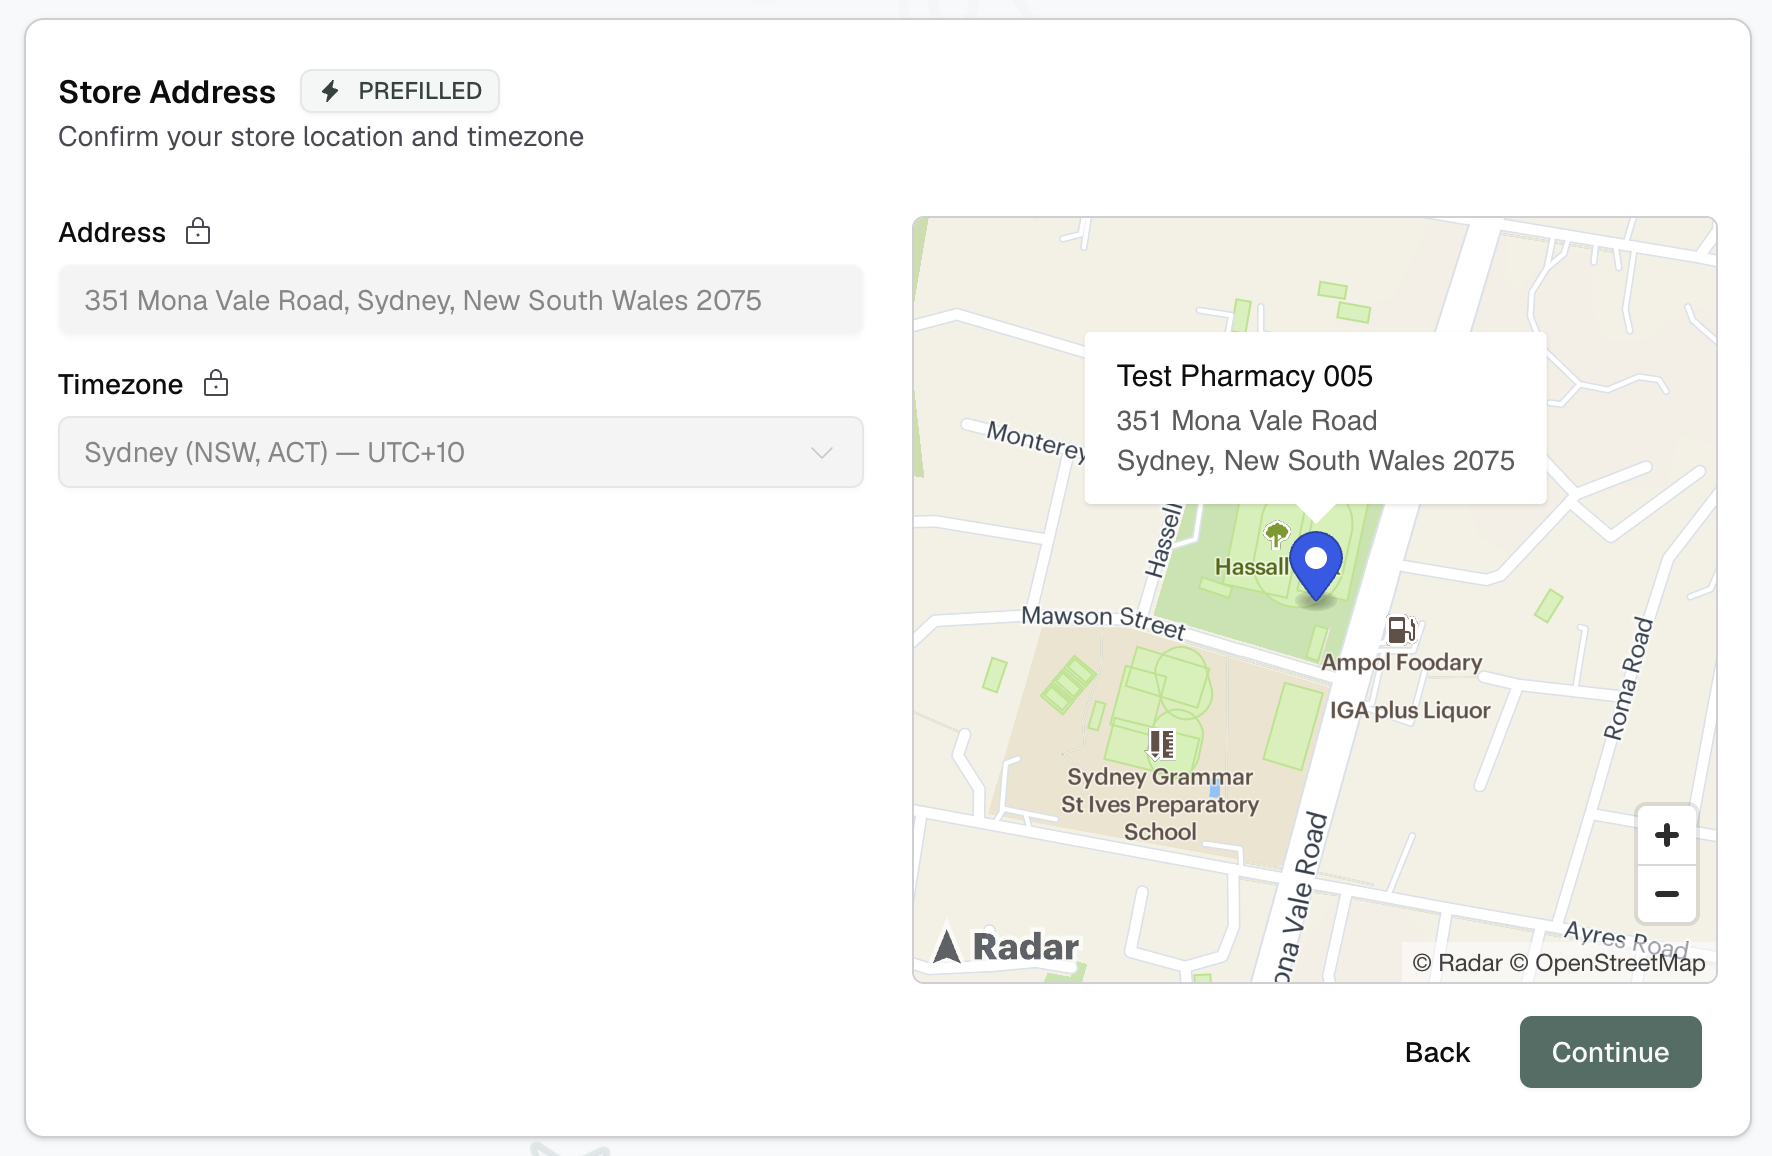
Step 3: Store Address
Set your store's physical location and timezone:
- Address - Start typing to search for your address. Select from the suggestions to auto-populate.
- Timezone - Automatically set based on your address, but can be adjusted if needed.
A map displays your store's location for confirmation.
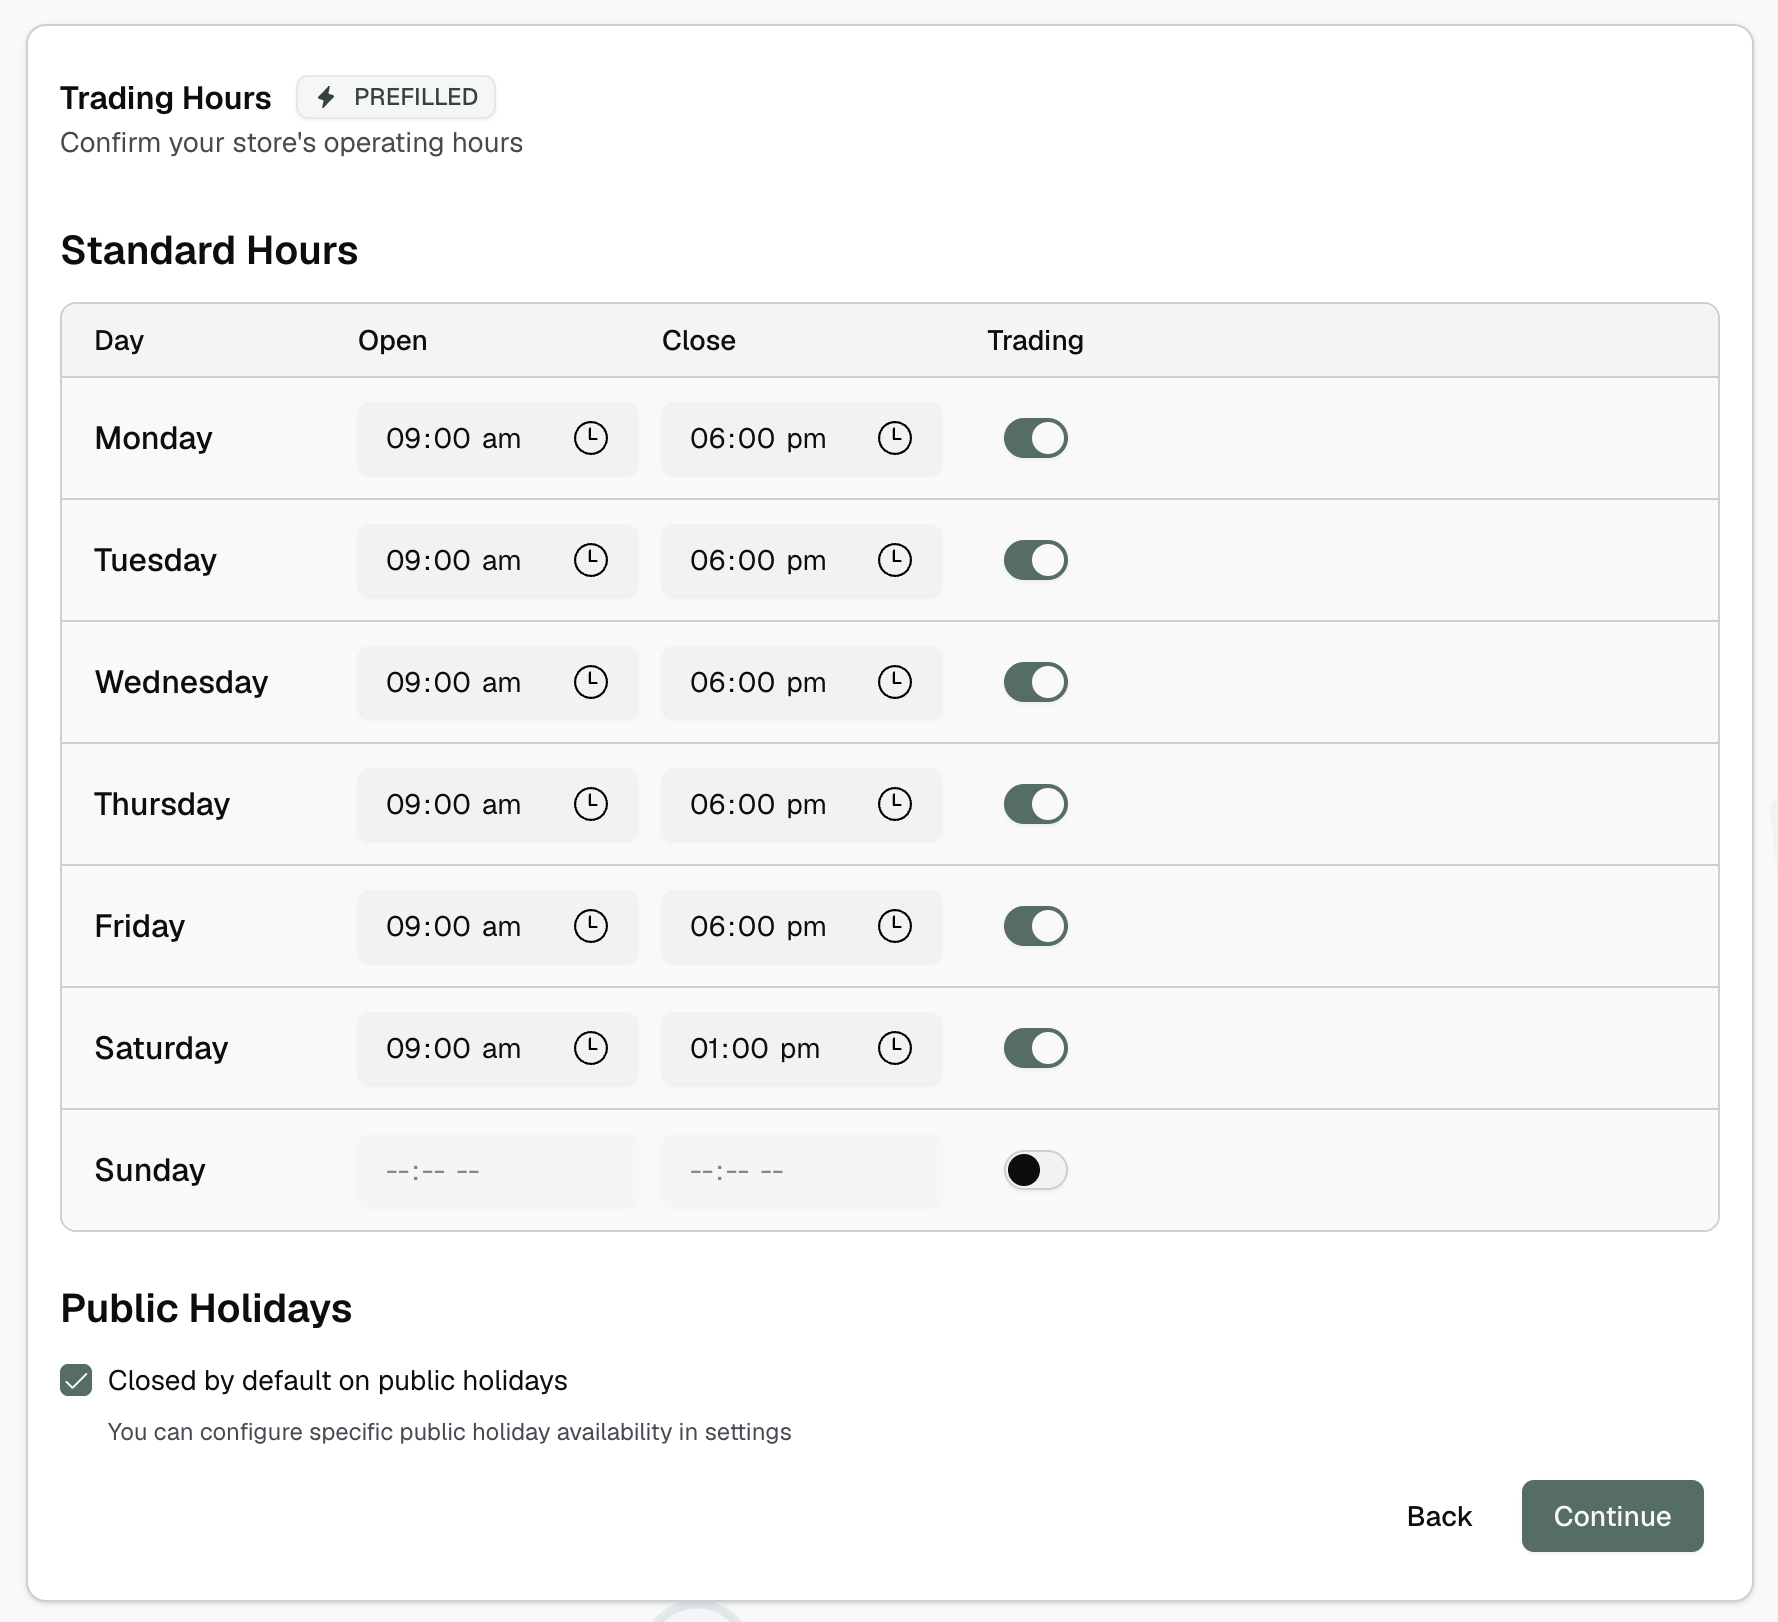
Step 4: Trading Hours
Define your store's standard operating hours:
| Column | Description |
|---|---|
| Day | Each day of the week |
| Open | Opening time |
| Close | Closing time |
| Trading | Toggle to enable/disable that day |
Tips
Use the copy actions (appear on hover) to quickly apply the same hours to weekdays, weekend days, or all days.

Public Holidays
Enable Closed by default on public holidays if your store typically doesn't operate on public holidays. You can configure specific holiday exceptions later in Settings.
Step 5: Configure Bookable Services
Select which services you want to offer for booking and configure their details:
| Column | Description |
|---|---|
| Service | The service name (from your organisation's catalogue) |
| Duration | How long the service takes (in minutes) |
| Price | Optional - leave empty for free services |
| Availability Mode | How the service's availability is determined |
| Enabled | Toggle to enable/disable the service |
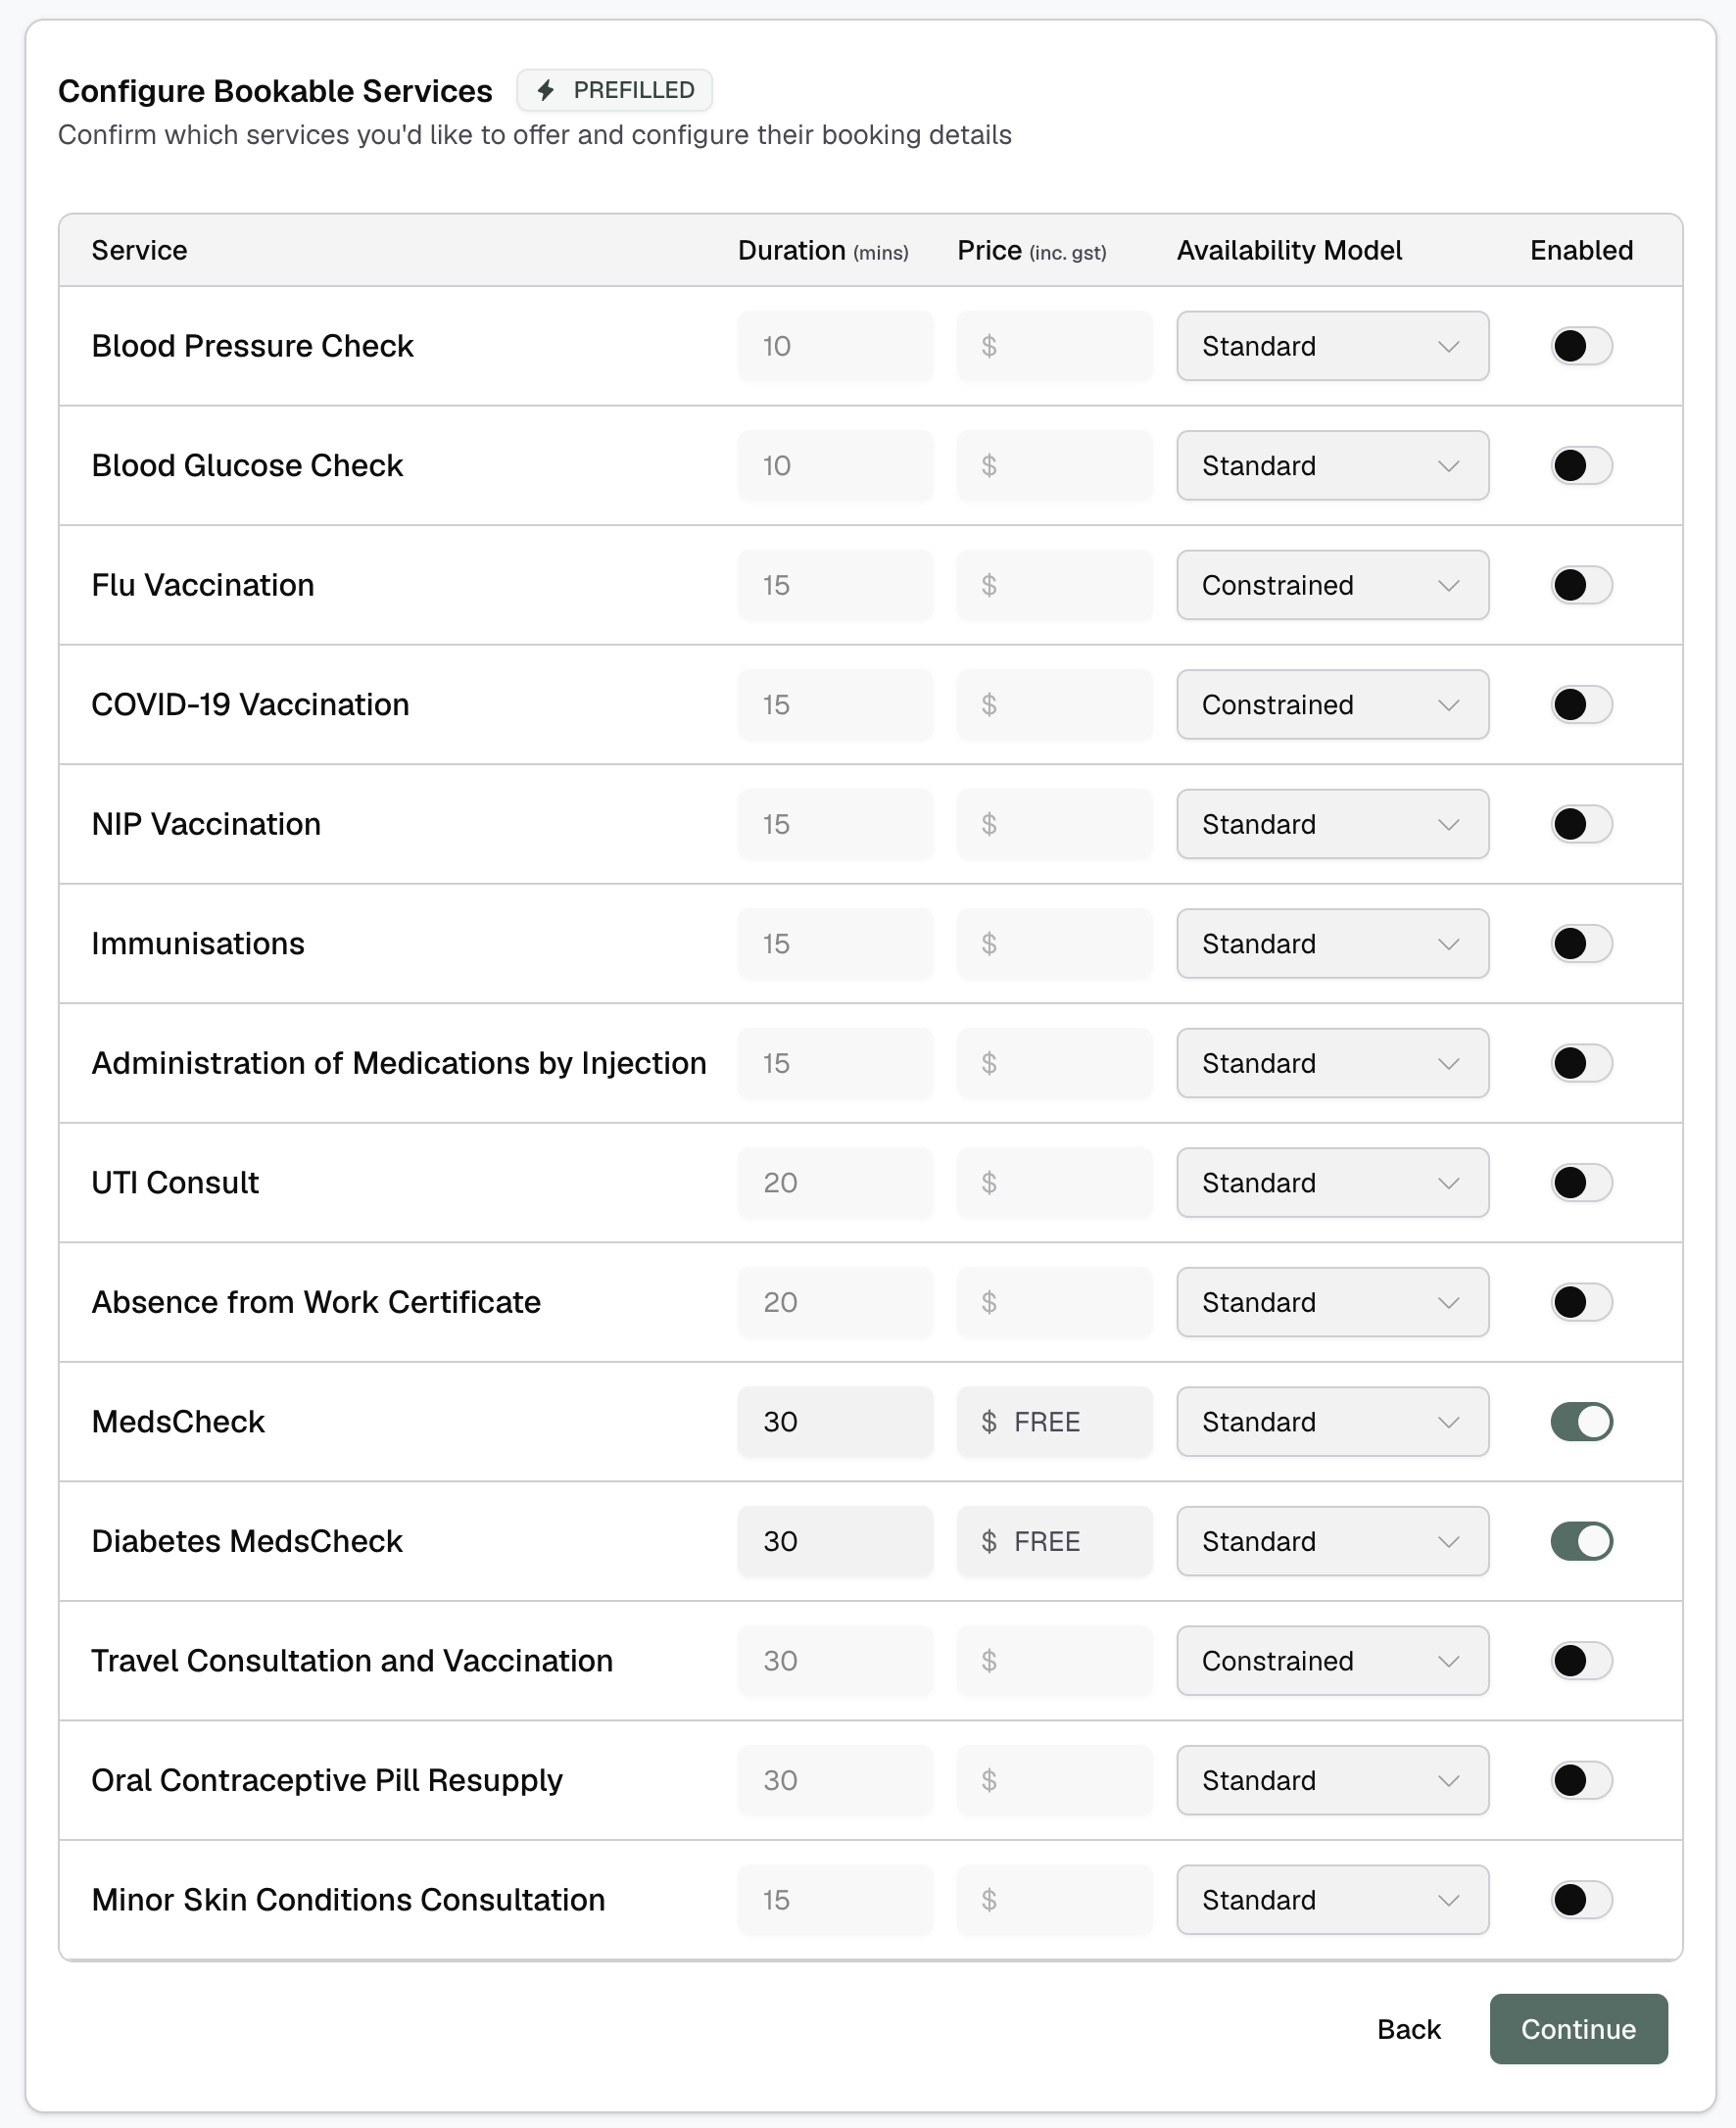
Availability Modes
| Mode | Description |
|---|---|
| Standard | Service is bookable when a linked resource is available |
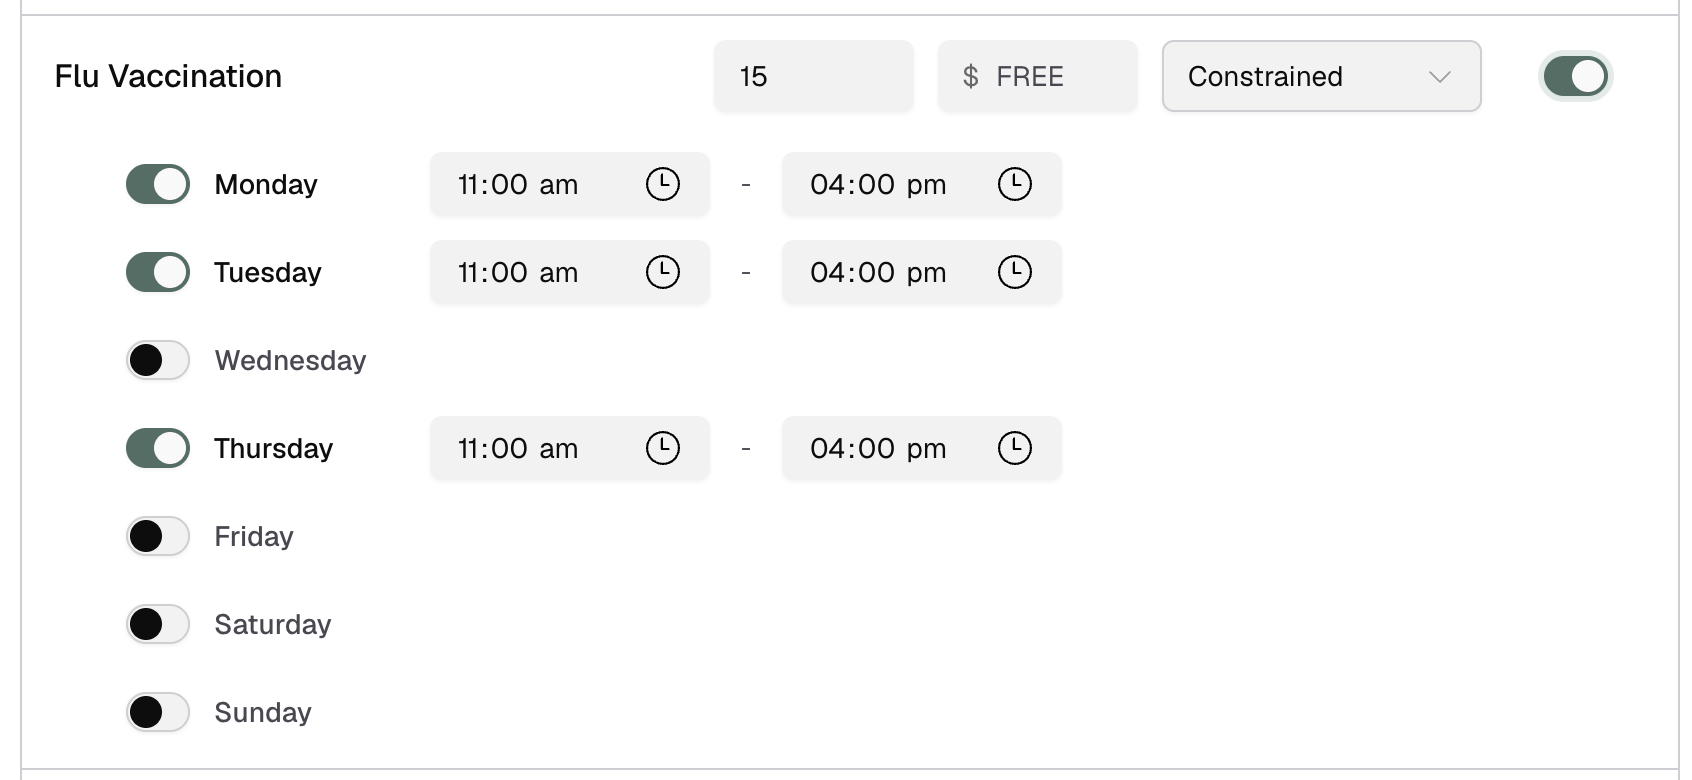
| Constrained | Service is bookable when a linked resource is available AND within service-specific hours. Use this to specify restrictions like "Vaccinations are only performed on Wednesday mornings". |
| Virtual | Service has its own availability, independent of resources |
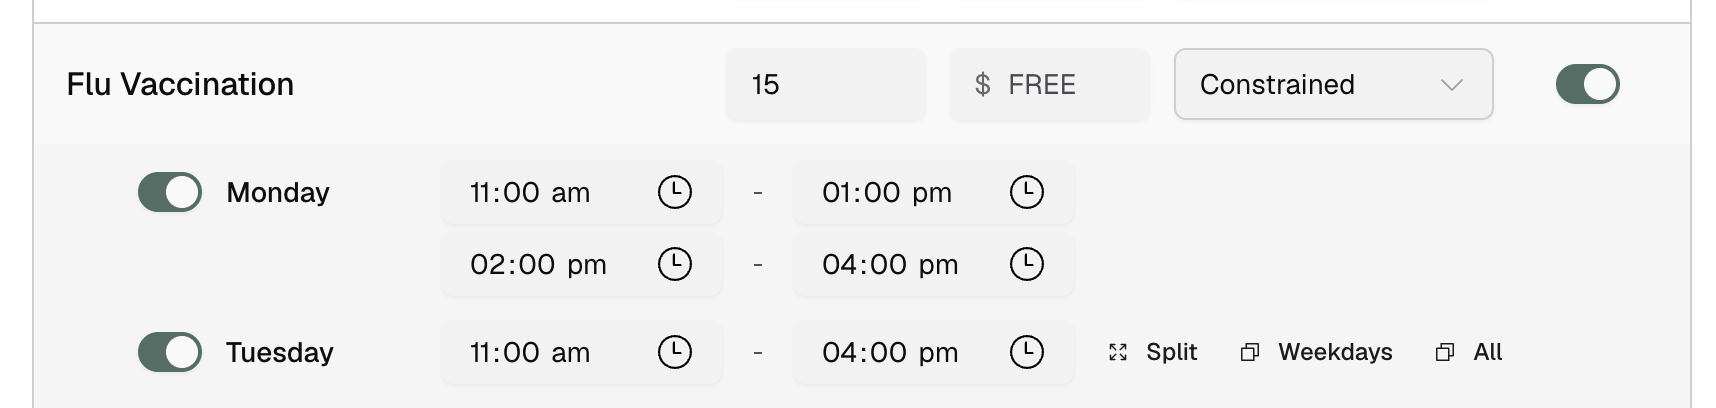
For Constrained and Virtual modes, an hours editor expands to let you define service-specific availability windows.
Use the split button to divide a time block into two - useful for adding a lunch break or other gaps in availability.
Step 6: Configure Resources
Set up the resources (rooms, practitioners, equipment) that provide your services:
| Column | Description |
|---|---|
| Name | Resource name (click the colour square to customise) |
| Availability | Whether the resource follows store hours or has custom hours |
| Linked Services | Which services this resource can provide |
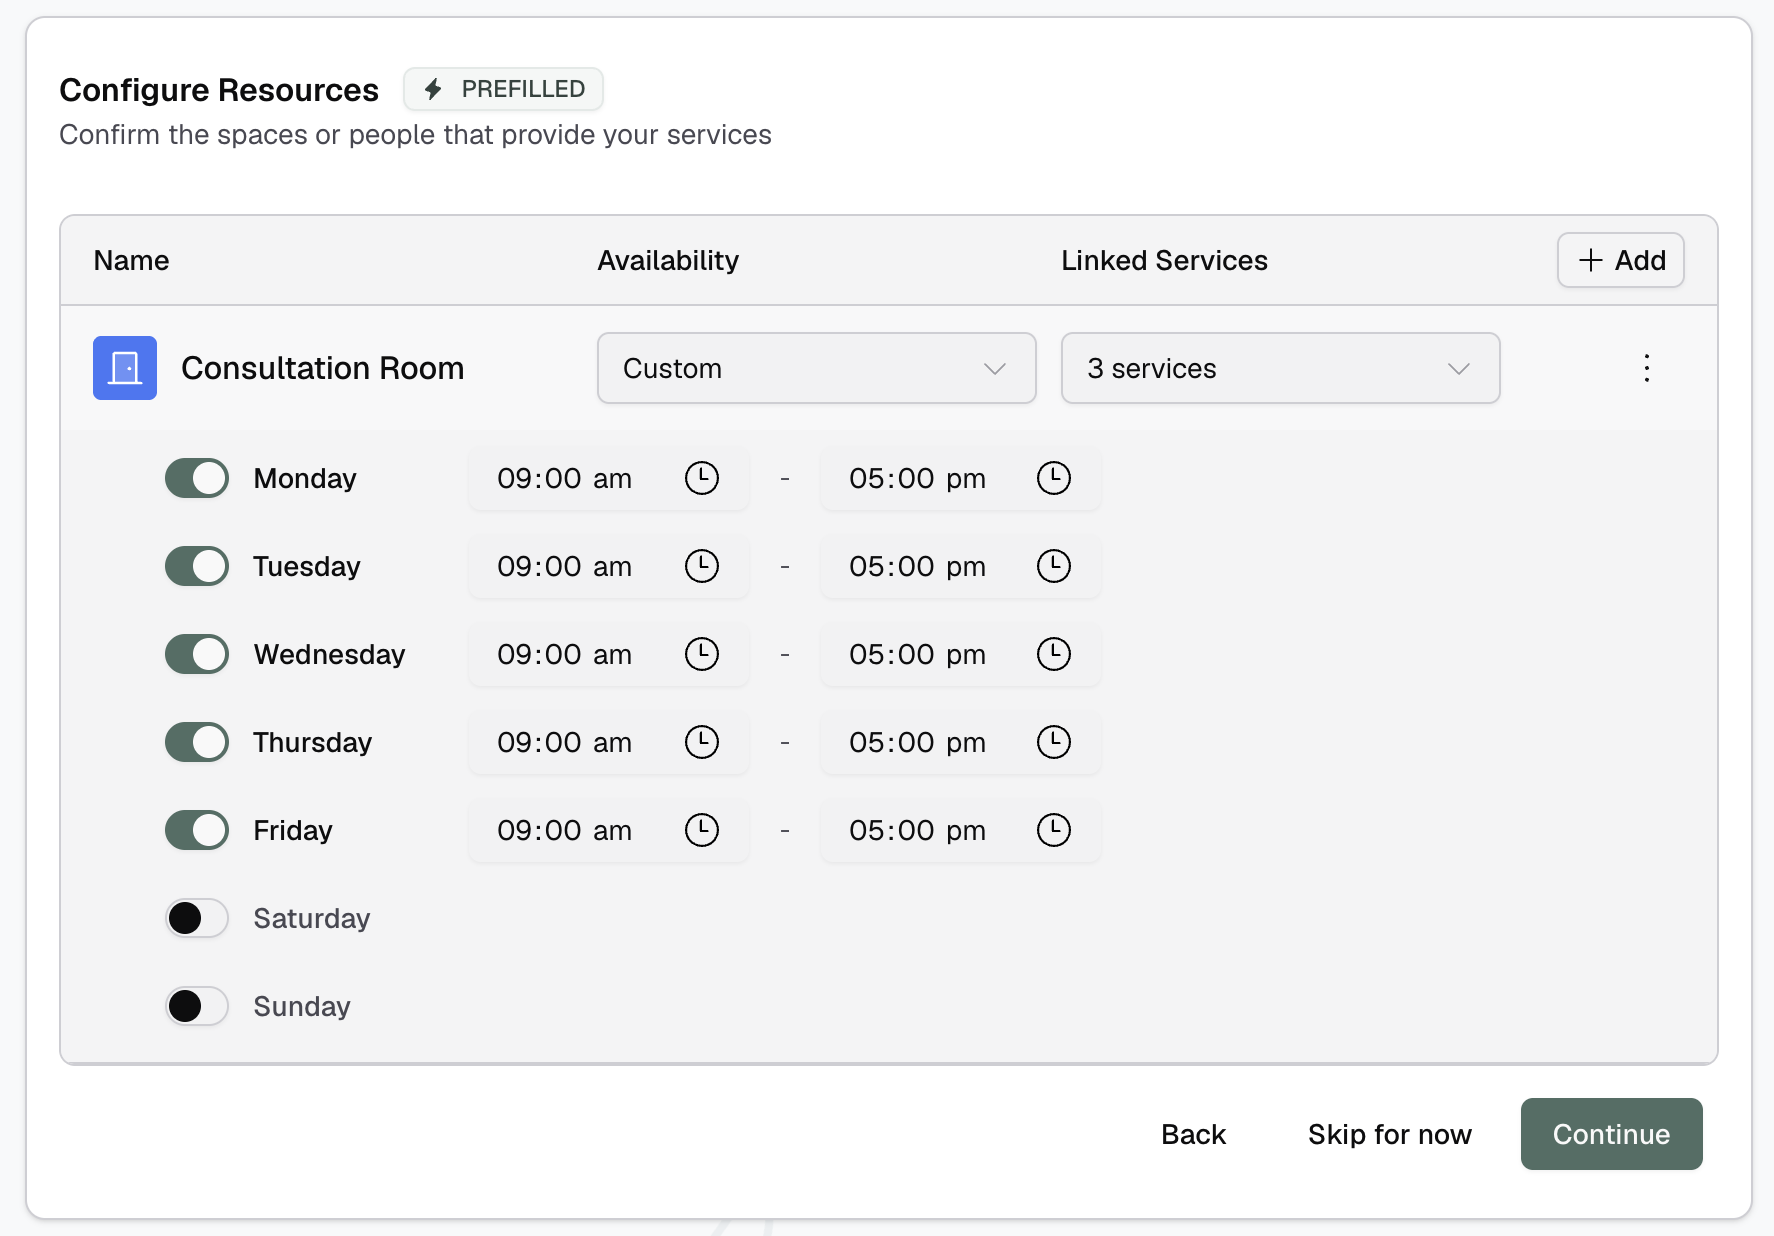
Availability Options
| Option | Description |
|---|---|
| Follows Site | Resource uses your store's trading hours |
| Custom | Define specific hours for this resource |
When using Custom availability, use the split button to divide a time block into two — useful for adding a lunch break or other gaps in availability.

Colour and Icon
Click the colour square next to a resource name to assign a colour for calendar display.
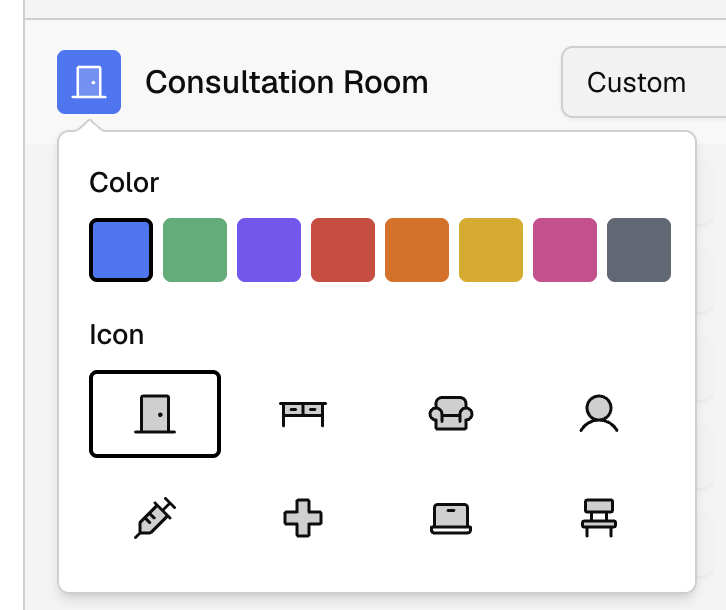
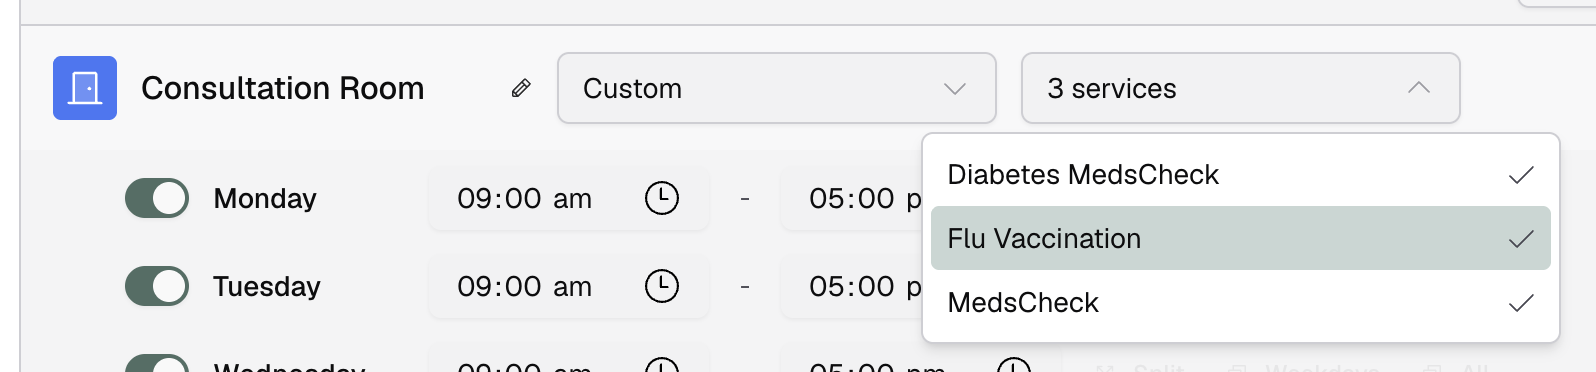
Linking Services
Link each resource to the services it can provide by selecting the checkboxes.
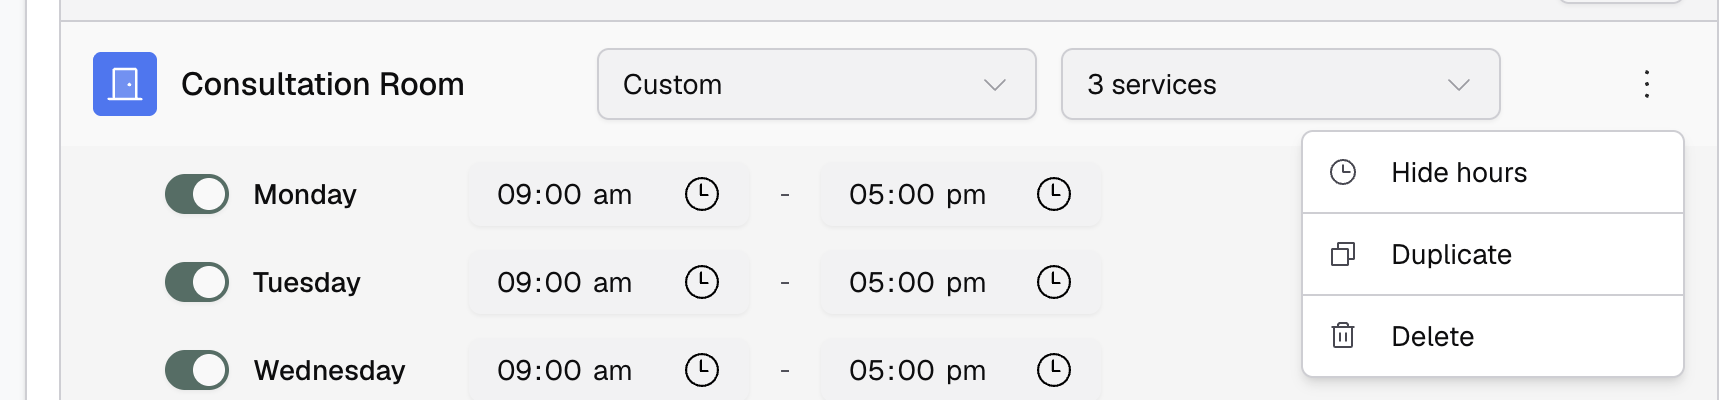
Resource Actions
Use the dropdown menu (⋮) to duplicate or delete resources.
Step 7: Public Booking Settings
Configure how customers will book with you:
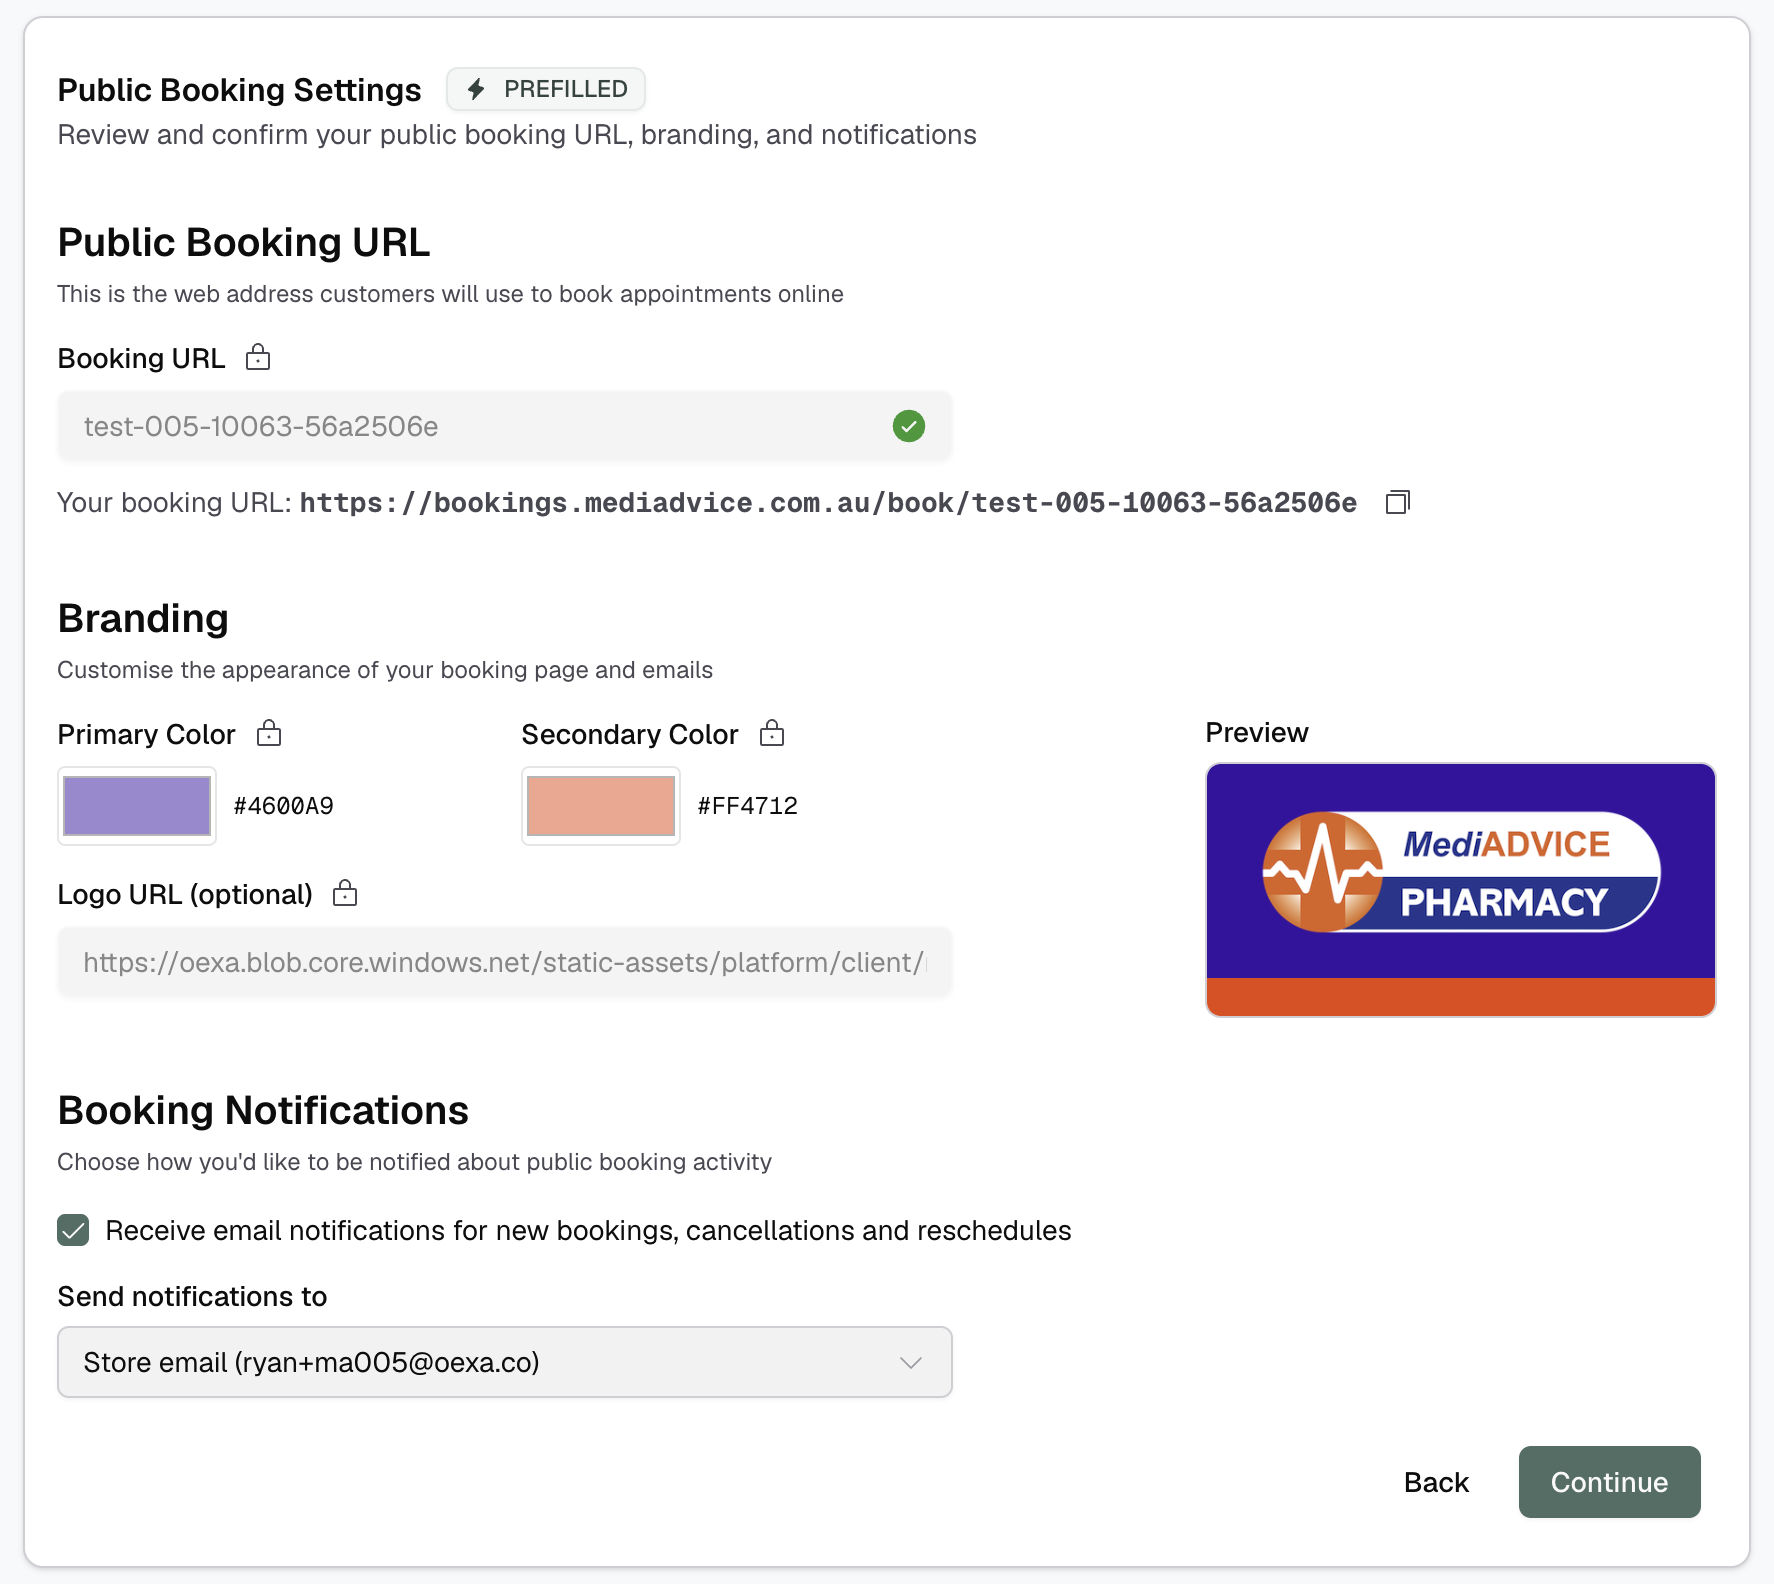
Booking URL
Set a unique URL slug for your public booking page. The full URL is displayed for reference.
Your booking page will not be live at the time of onboarding. It will be enabled after setup is complete.
Branding
Customise the appearance of your public booking page and customer-facing emails:
- Primary Colour - Main accent colour
- Secondary Colour - Supporting colour
- Logo URL - Optional logo to display
A preview shows how your branding will appear.
Booking Notifications
Choose who receives email notifications when bookings are made:
- Store email - Notifications go to your store's contact email
- All users - All users at your store receive notifications
- Custom email list - Specify particular email addresses
Completion
Once all steps are complete, you'll see a confirmation screen and be automatically redirected to your dashboard.
What's Next
Your store is now set up and ready for bookings. From the dashboard, you can:
- View upcoming bookings
- Access the calendar
- Manage customers
To modify any settings configured during onboarding, go to Settings in the main navigation. For detailed information about each feature, see the Booking Setup Guide.